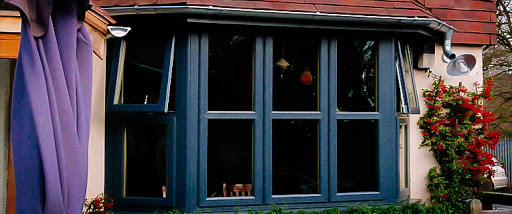
The purpose of window frames is to provide a decorative box around the glass. They also provide much-needed protection against the elements. Window frames are normally made of wood and painting them requires the right level of detail. The outcome of a window frame being painted is to improve the appearance of your window but to avoid any mess that can occur during the painting process. Resultantly, take time while painting windows to see an impressive outcome!
Aspect.co.uk is a professional property maintenance company that provides professional painters and decorators across London. As their guide to decorating as a pro explains, there are a number of steps necessary to achieve a professional finish when painting windows.

Steps You Need to Take when Painting Window Frames
- Protect the floor with an old sheet. Removing paint from a carpet can be a difficult task and create a real mess. Avoid this unwanted hassle by placing an old sheet or towel beneath the window to catch any drips. Just make sure the item you use is old! In order to keep the sheet in place, stick tape around the edge of it.
- Using a painter multi-tool or scraper, remove as much old paint as possible. However, take care not to scratch the glass. In areas that you cannot access with a large scraper, use a smaller version.
- Fill nail holes. Fill old nail holes with putty, allowing them to dry and harden. Apply the putty as you would butter, taking care not to apply too much. This will result in unwanted mounds. If necessary, more putty can be applied at a later date if needed. Putty can be purchased cheaply from any DIY store.
- Sand down the frame. Using 240-grit sandpaper, fully sand down the entire frame. This has the benefit of helping the paint to stick properly and ensures all uneven areas are leveled out before painting. The trick to a great finish is in using the right sanding technique. Cup the sandpaper in your palm while gently rubbing the surface. Aim for smooth and long strokes rather than quick, short ones.
- Clear the frame of debris. After scraping and sanding, the frames are likely to be covered in debris and dirt. Before applying the fresh coat of paint, it will be necessary to clean them using a dry paintbrush. Pay specific attention to the corners as this is where most dust tends to collect.
- Prime and paint the frame. Line the outside of the frame with painters tape to provide a divide between the panes and the wall. Masking tape also works well for this purpose and is an item readily available from DIY stores.
- Apply the primer. Choosing a suitable oil-based primer, paint this on the frame using a 2” angled brush. This can also be sprayed on, but make sure to go over it after using a brush. This ensures the primer is worked into the wood. If you’re applying a new coat of paint, primer isn’t necessary. Only use it on sanded or scraped areas.
- Allow Frames to Dry. Before the paint can be applied, allow three hours for the primer to fully dry. This can take longer on a particularly humid day.
- Apply the paint. Use long flowing brush strokes for an even and smooth finish. For casement windows, start with the frame first and the sill last. Sash windows require painting from the bottom and working to the top. Each sash should be painted separately and the brush should remain well loaded throughout. For an easier job, transfer some paint to a smaller container.
- Carefully remove the tape. Done correctly, this will produce a clear separation between the painted edge and the other surface. Pull the tape away at a 45-degree angle to prevent the surface from being marked. Wipe any drips using a damp cloth, making sure the paint hasn’t dried over the tape. This will damage the finish once the tape is pulled away. Critically, don’t remove the tape if you’re planning a second coat.
- Leave for 24 hours. This should be enough time for the oil-based paint to dry. If you’ve painted a casement window, don’t leave the window closed while drying. It could cause the frames to stick together. If you need a thicker coat, apply a further layer once the first one has dried.