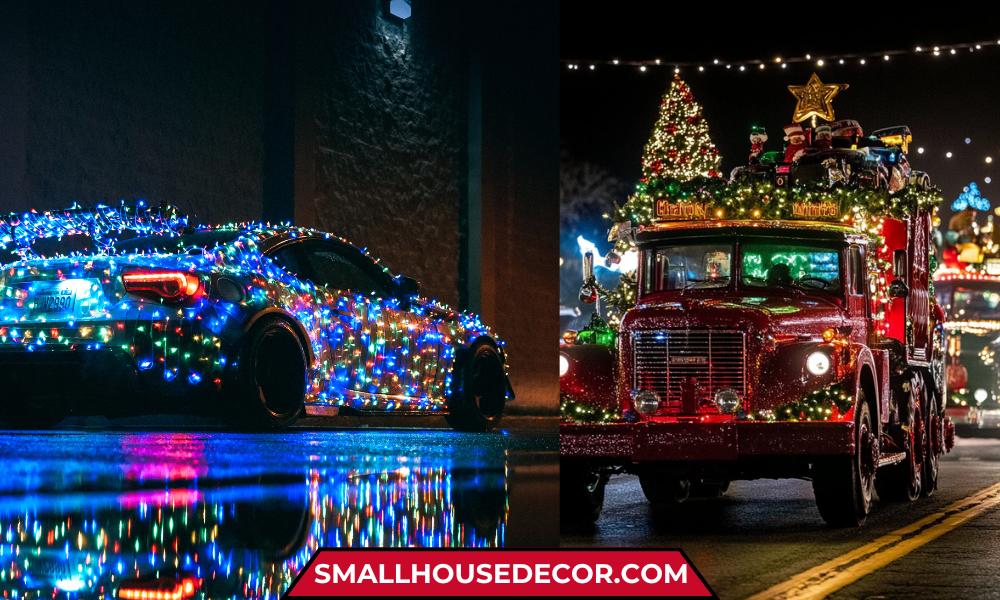
Transforming your vehicle into a festive holiday display is a unique and fun way to spread cheer. Here’s a detailed breakdown of how to do it, step by step, while ensuring safety, efficiency, and style.

1. Choosing the Right Lights and Power Source
Your vehicle’s electrical system uses direct current (DC) power, so you’ll need to match your lighting setup accordingly. Here’s an in-depth look at your options:
Battery-Powered Lights
- Pros:
- Quick and easy to install with no wiring required.
- Portable and flexible—perfect for last-minute setups.
- Cons:
- Batteries can be costly if you’re running lights for extended periods.
- Frequent replacements are inconvenient.
- Fewer styles available compared to AC-powered lights.
Direct-Current (DC) Lights
- Pros:
- Specifically designed for vehicles, making them compatible without additional tools.
- Reliable for long-term use on the road.
- Cons:
- Limited in variety; harder to find unique designs or animations.
- Often more expensive than standard lights.
Alternating Current (AC) Lights with Inverter (Recommended)
- Why it’s the best choice:
- Affordable and widely available in a variety of styles.
- Easy to customize, from simple strands to animated displays.
- An inverter lets you power standard AC Christmas lights using your vehicle’s DC system.
Pro Tip: Choose an inverter rated for double the wattage of your lights to ensure stable performance and avoid overloading.
2. Attachment Techniques
Securing your lights safely and effectively is crucial to protect both your vehicle and the lights. Here are the most reliable methods:
Duct Tape
- Pros:
- Inexpensive and quick to apply.
- Cons:
- Can damage your vehicle’s paint.
- Leaves sticky residue that requires cleanup.
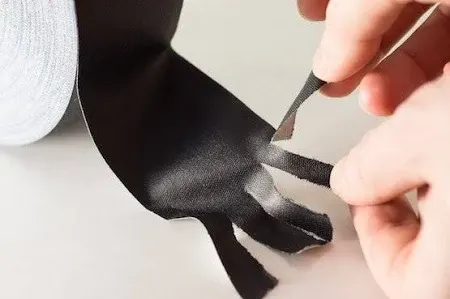
Gaffer’s Tape (Best Option)

- Pros:
- Leaves no residue, ensuring your vehicle’s finish stays intact.
- Durable and weather-resistant for clean, secure application.
- Cons:
- Slightly more expensive than duct tape.
Other Methods:
- Zip Ties: Perfect for attaching lights to grills, roof racks, or other fixed parts.
- Suction Cups: Great for temporary setups, especially on smooth surfaces like windows.
- Mounting Clips: Ideal for gutters or roof edges; provides a secure grip without damage.
Also Read: Want to extend your holiday lighting skills? Learn How to Put Lights on a Wreath for decorating your home with the same festive spirit as your vehicle.
3. Power Calculation Guide
Before purchasing an inverter, calculate the total power your lights will consume:
- Check the cigarette lighter’s output voltage and amperage (usually labeled).
- Determine total light wattage:
- Use the formula: Watts = Volts × Amps
- Example: A 12V cigarette lighter output at 10A supports up to 120 watts.
- Choose an inverter:
- Pick one rated for double your wattage needs for reliable operation.
4. Safety Considerations
Adding lights to your vehicle is exciting, but safety must remain a priority:
- Check local regulations: Ensure decorative vehicle lighting is allowed in your area.
- Drive cautiously: Avoid excessive speeds that could loosen attachments.
- Secure lights firmly: Periodically inspect your setup to ensure lights stay in place.
- Minimize distractions: Keep flashing or animated lights subtle to avoid causing accidents.
5. Installation Checklist
Use this checklist to stay organized:
Estimated Costs with Easy Shopping Links
To get started with your festive vehicle display, here’s a breakdown of the potential costs and press [Click here] to browse and purchase all the materials you’ll need conveniently on Amazon!
- 400W Inverter: $30–$50 Click here
- Christmas Lights: $10–$30 (depending on the type and length) Click here
- Gaffer’s Tape: $30 Click here
(We earn a commission if you make a purchase, at no additional cost to you.)
Total: Approximately $70–$95
Also Read: When the season ends, follow the best practices from how to store net lights to keep your lights organized and ready for next year.
How to Put Christmas Lights Video Guide
Looking for the best way to decorate your space with Christmas lights? Video instructions by Chase make it easier than ever! Unlike text, a step-by-step video allows you to visually follow along with each guideline, ensuring accuracy and eliminating guesswork.
Watch as he transforms Snake Oil into a dazzling holiday display using just a battery and a power inverter. With around 1,400 LED Christmas lights, this is the ultimate festive car setup.
Ready to make your car a holiday head-turner? Hit play and follow along!
In this video, you’ll learn:
✅ How to select the right lights and tools for your project
✅ Easy-to-follow techniques for hanging and securing lights
✅ Pro tips to avoid common mistakes
Also Read: Curious about the technology behind your LED light setup? Check out How Do LED Signs Work: An Expert’s Guide for a deeper understanding of how LEDs illuminate your holiday decor.