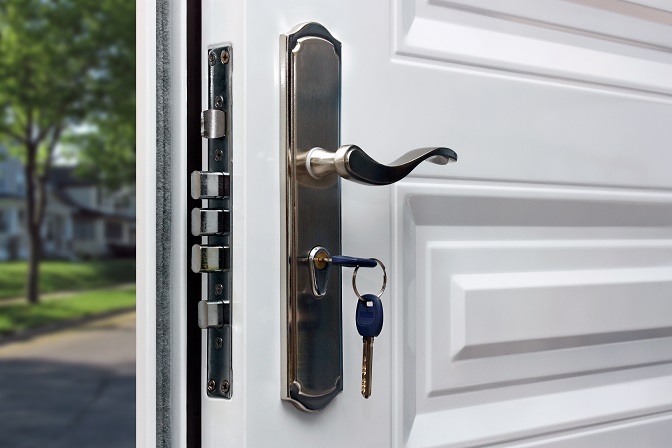
Anyone who has ever lost their house keys knows the feeling of worrying about someone getting in. Making matters worse, unless a homeowner is the first occupant of a property, it’s hard to tell how many copies of the keys are floating around.
Locksmiths can rekey a lock, but rekeying all of them can get pricey if there are multiple doors. For your information, “Salaries typically range between $25,000-$67,000” for a professional locksmith. So keeping this in view, it can be really expensive.
The good news is that a homeowner can rekey their locks at a fraction of the cost without hiring a locksmith. There are rekeying kits available at most home centers, but these are not interchangeable. As a result, a kit must be purchased for each lock brand in a home.

How to Rekey a Lock
Step 1. Remove the Knob
To begin, the homeowner must remove the knob. This is easily done by pushing in a button or atypically located tab behind the knob. Once this is depressed, the knob can be pulled and removed.
Step 2. Remove the Cylinder
After the knob is removed, push the cylinder out of the knob assembly and remove the cylinder from the knob sleeve. The cylinder is the piece that has the keyhole in it. This should slide out easily after you get the knob off. If it sticks, insert your key into the keyhole and pull.
Step 3: Remove the Retainer Ring
At the end of the cylinder opposite the keyhole, there is a retainer ring. This must be removed. This can be done with a special wrench that is usually included with the rekeying kit. If this wrench is not there, a small wrench can be used. Using the tool or wrench, force the retainer ring of the cylinder. Now, set this ring to the side. It will be replaced later.
Also Read: 11 Space-Saving DIY Pallet Bar Ideas
Step 4: Remove the Cylinder Plug from the Cylinder
This is probably the most delicate part of the job. Insert the key in the keyhole and turn it to the right or the left. Use the key follower, which should be included in the kit, and push it through the cylinder while keeping pressure on the plug and the follower. This prevents the pins inside the cylinder from popping out. If the pins do pop out, it’s not the end of the world. Just make sure you pick them up and keep them together so they can be used as a reference later.
Step 5: Insert the Pins and Reassemble the Lock
Dump out the pins. Now, insert the new key in the cylinder. Use the key as a holder when you replace the pins, which should also be in the kit. There should be an instruction paper or card that shows the color-coding of the new assembly. Using tweezers or a pair of needle-nosed pliers, insert the new pins into the cylinder in the order that matches the diagram on the instructions. After the new pins are inserted into the holes on the cylinder, reattach the retaining ring and assemble the knob in the opposite order that was just used to take the lock apart.
If the instructions above are followed correctly, there should be every confidence that the lock will perform. If you have problems or are not confident of your ability to carry out these instructions, call a locksmith for help.