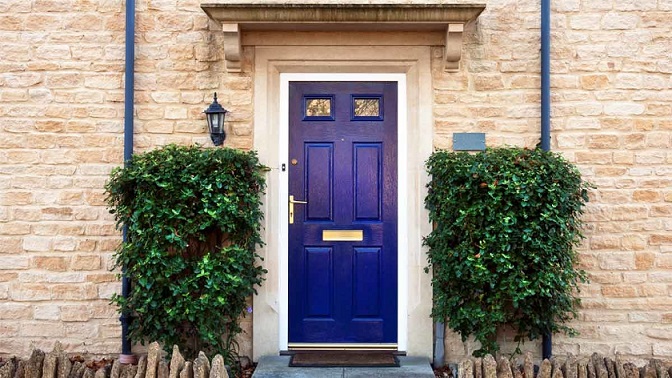
You have spent a considerable amount of time trying to figure out how to increase the value of your home. After all, your next-door neighbor has added a pergola in the backyard, and the neighbor directly across the street installed a beautiful water fountain next to the newly lit sidewalk leading up to her home. You have to something to keep up with the Joneses, but you do not want to spend a lot of money getting it done.
According to the door experts at Eto Doors, you can enhance the appearance of your home and thus, increase the value of it as well, by repainting one or more of the wood doors gracing your house.

Tips for Painting a Wood Door
Before you repaint one or more wooden doors, you have to devise a game plan that considers the following factors.
- Timing
- Paint color
- Type of paint
- Preparation
Timing is all about the time of year, specifically the best season where you live for a door painting project. You need weather conditions that allow the paint to dry in a timely manner. Color is strictly a subjective choice, although painting your home bright yellow might make the sun envious. Consult with a home improvement expert to determine the best type of paint for one or more wood doors, and the get down to business repainting the doors by setting up an achievable game plan.
Also Read: Ssst.. 14 Amazing Secret Passages Ideas
5 Steps to Repaint a Wood Door
Repainting a wood door should take no more than five steps for a do it yourself job.
Remove the Door
Use a chisel or a screwdriver to form a wedge in the joints between each hinge and the top of the hinge pins. Pull the pins out and remove the remaining hardware to take the door to a location set up for the repainting project. You might have seen a DIY specialist repainting a door hinged to the hardware on television, but repainting the wood door at another location ensures you create a visually appealing door.
Sand Using the Correct Grit Sandpaper
Older wood doors need to be sanded and primed for the application of paint. To ensure the smoothest working surface, remove every peeled piece of paint, and then sand off the old paint until the wood surface looks like it did before the previous paint job. Although there is some debate as to what type of grit to use for sandpaper, start with 120-grit sandpaper to do most of the work. Work your way up the grit ladder for finely sanding the wood door by using 220-grit sandpaper and eventually, finishing this step using 320-grit sandpaper.
Priming Made Easy
The sandpaper part of the repainting project probably took a lot of juice out of the energy engine. Take a break before you start to prime the wood door. You need to move the door to an area that does not have any dust floating around in the air or along the ground. Place the sanded door on two perfectly spaced sawhorses to ensure stability. Use a wide paintbrush to apply one coat of primer that should cover one side, as well as the edges of the wood door. Wait for the primer to dry before turning the door over to apply primer to the other side. After both sides have dried, you might need to use 320-grit sandpaper to smooth the surfaces.
Paint Like a Master
Wait until the primer dries on both sides of the wood door before stirring the paint you bought for this particular project. Paints the door by starting at the top, and then working your way slowly down the entire width of the door. Use long, sweeping strokes that cover as much of the door as possible with the paint you have applied to the brush. Consistency is the key to create a repainted door that makes you proud. Increasing the saturation of color means a second coat of paint, and possibly three or more coats to saturate brighter colors.
Take It Easy
Now, the time has come to pour yourself a refreshing drink, and then wait for the first coat of paint to dry. When the paint no longer feels moist, you decide whether another coat is needed. If your work is done, reattach the door and wait for the compliments to come because of a job well done.