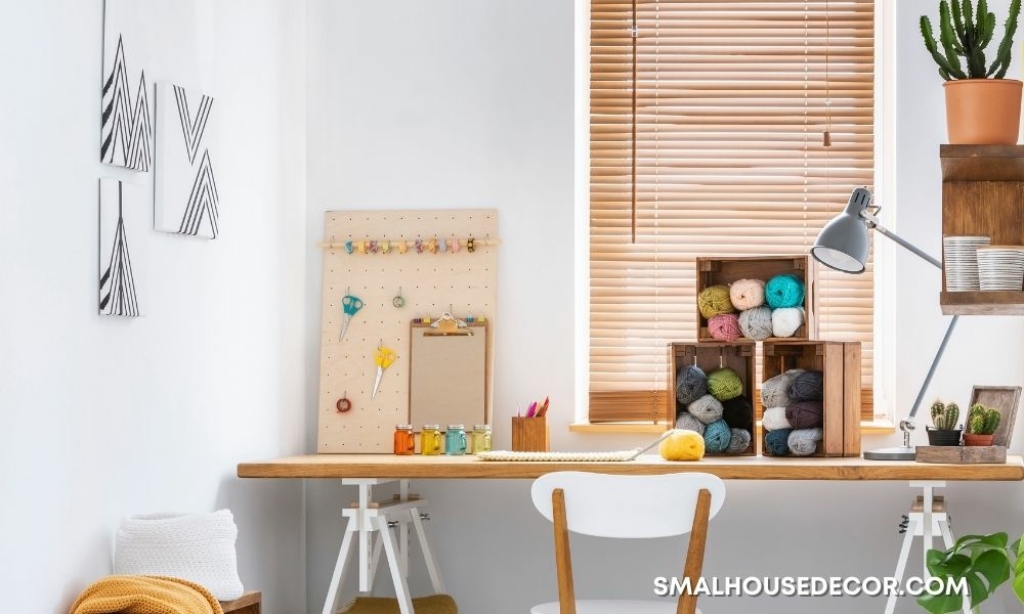
A craft room is home to all your diversions from everyday life, or maybe it’s where you work on your creative business. Construction paper, sewing needles, scrapbooks and other craft tools give you the means to express your artistic side.
However, this room can get quickly out of hand. If you use these top 10 tips to reorganize and declutter your craft room, it can be a more functional space with little effort.

1. Pull the Supplies Out
Avoid any frustrations by pulling out all of your supplies into the open. Lay them out on the floor or a large table. This process can lead to instant decluttering if you toss out the trash that’s been haunting the back of a drawer.
Most craft rooms are relatively small, so placing all your supplies out in the open shouldn’t be too overwhelming. From sewing boxes to crafting scissors, knowing what you have to organize in the first place is the best place to start.
2. Sort the Items Into Categories
Every crafting endeavor can come with an astounding number of necessary accessories. Sort your items into specific categories. For example, collect all your crochet needles into one pile and stack your thread spools in an adjacent area.
Measurement tools, including tape and rulers, are another category. Sharp items, such as that handy craft knife or safety pins, must be sorted into a safe container too.
The sorting process may take some time but will streamline the rest of the decluttering experience.
3. Let Some Items Go
Saving scraps from previous crafting endeavors is part of the fun. You may need that tiny fabric section for a future project. However, there comes a time when these scrap pieces become clutter, and you need to let them go.
If you haven’t touched or even remembered certain scraps in your collection, toss them in the trash. It’s a safe bet that they won’t have any future use. Trashing old accessories also tells you which items you need to replace. A practical shopping list has begun to take shape.
4. Create a Donation Pile
When sorting, keep an eye out for items collecting dust that are more than just scraps. Consider donating anything that could have a more useful life somewhere else. Plenty of charities and community groups can use these items. Children, seniors and others are always looking for quality crafting supplies for little to no cost. Simply ask around, or post these items online for a quick pickup.
5. Consider Storage Options
Your sorted piles are now ready to be stored, but create a plan before tossing everything back into those drawers. Think about the storage you have available. Shelves and tables are obvious areas for storage but look at your walls, too. Adding pegboards, floating shelves or other solutions with a vertical twist will increase your storage options.
Thread spools might be stacked on posts where they’re accessible and colorful from afar. Stacking yarn in cubbies bolted to the wall also creates a bright aesthetic while giving you a quick glance at your inventory.
6. Try Craft Carts
Prolific hobbyists can have a lot of supplies. Supplement your storage by trying a craft cart. They can be large or small, depending on your crafting tools. Take stock of your larger supplies that need specific care, such as a self-healing cutting mat that you want to lay flat, and look for carts that can support those dimensions.
Carts come in handy when you want to avoid moving around too much, such as when you’re gluing items or working with a sensitive material. They’re also helpful for people with limited mobility because the supplies will come to you on wheels.
7. Repurpose Containers to Hold Small Items
Pins, markers, clips, ribbons and many other small items can turn into clutter in a matter of minutes. Get clever by repurposing containers around the house. Use spice bottles, old silverware containers and other everyday products to hold those small items.
Shoeboxes are another resource, especially if you have kid-size containers. By repurposing these containers, you save money you would have spent on new supplies and reduce the waste from your crafting hobby.
Also Read: 10 Kitchen Pantry Organization Ideas (Say Goodbye to the Mess)
8. Rearrange Furniture
With your sorting and storing strategies almost complete, don’t overlook the craft room’s furniture. Take this opportunity to move any furniture to a better spot.
For example, push the table closer to the window for natural light. Move the children’s crafts over to a corner where they can reach them with ease. Creating a more functional space for everyone will free you all to use it more. You might also find more usable space when you do a quick furniture rearrangement.
9. Try Out the Space
Give the craft room a try with the newly sorted items and rearranged furniture. Don’t hesitate to move items around. An idea that seemed great at the time may not work on a daily basis.
Shift your supplies to another part of the table, or swap items from one box to another. These small adjustments improve your crafting experience and force you to keep the space tidy.
10. Keep Up With a Tidy Space
No one wants to sort and clean an entire room regularly. Give yourself a schedule that includes tidying up the room at least once a month. This process might include placing items in their corresponding spots, tossing away trash and doing other tasks.
Cleaning up on a regular basis reduces the need to rearrange everything all over again. This monthly task might take only 10 to 15 minutes, for instance.

Enjoy Your Organized Craft Room
Sorting, categorizing and finding perfect locations for your crafting supplies breathes new life into a room. Set aside time every month to keep the space tidy. A well-organized craft room can inspire you to be even more creative each day.