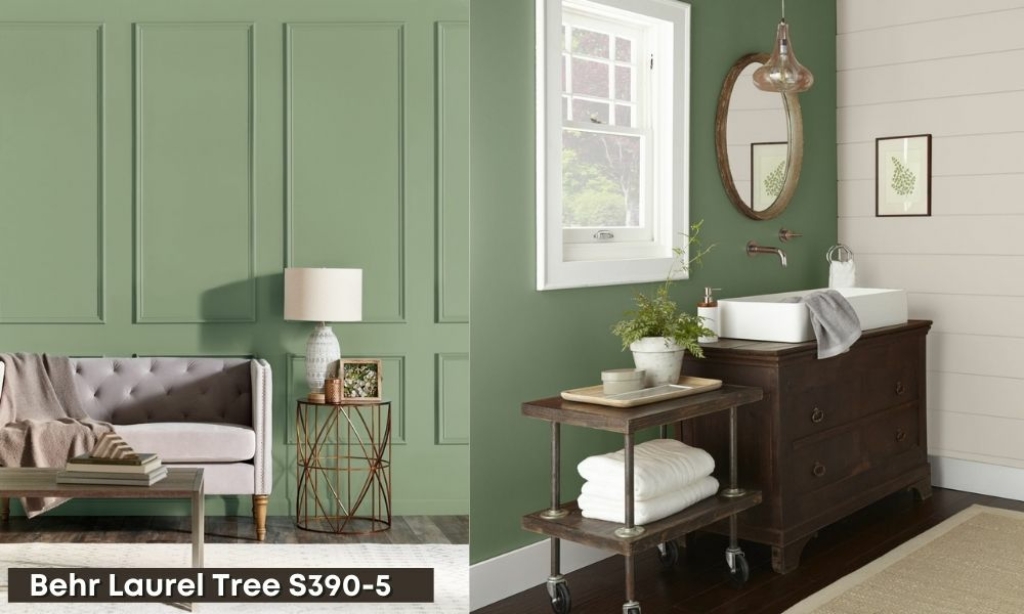
Painting your home’s walls can change a room’s flow and personality. So, if you are bored with the color or tired of the old look, don’t fret. There are many ways to give your walls new life without a massive renovation project or expensive paint job.
Simply modifying the paint application process can make a difference in how your finished product looks!

Sand the Surfaces
First, sand all surfaces with fine-grit sandpaper. It will help remove splinters or rough edges that could catch on your paint or brush. You can use either a hand or a power sander for this step. Just ensure you don’t sand too aggressively, as it can damage your surface and make it more difficult to paint successfully.
If your wall is textured, just like rendered walls, you will want to use medium-grit sandpaper instead of fine-grit. It is because textured walls tend to absorb more paint than flat ones, and using a finer grit can result in splotchy spots that are difficult to cover up.
If you’re unsure what to do, you can always ask for assistance from experts or read articles online for tips for painting rendered walls like a pro. Pro tips are essential since the texture can be challenging to work with initially; if you don’t have experience, you may have difficulty painting.
Make sure to sand every surface you might think will eat up paint so you don’t have to use more paint than necessary.
Prime it Up
Before you start painting, it’s essential to ensure your paint will have a smooth base to adhere to. It is especially true if you’re using a light color over a dark one or vice versa. If you don’t prime first, the old paint can bleed into the new layer, making the colors look strange or uneven. To do this:
- Use a primer made specifically for your type of wall surface (e.g., latex or oil-based). Only apply it in thin layers—if it gets too thick and dries out before you’re done, it’ll be more challenging to work with later.
- Use a roller brush instead of a paintbrush so that the primer covers more surface area in one pass (and saves time!).
- Wait 15 minutes between coats so that each layer dries completely before adding another one on top (this will prevent lumps from forming).
Start in the Corners
The corners can be tricky if you’re just starting with painting walls. Don’t worry! We’ve got some tips for how to get the best results when painting corners.
Start in the corners: Start on one side of the room and paint towards the corner, letting some of your brush strokes overlap slightly so there are no visible lines.
Don’t worry about covering up the whole corner at once: Just paint in a small area at a time, letting your brushstrokes overlap slightly as you go. If you feel like there are still lines showing behind where you’ve painted, just go over those spots with another coat of paint.
Tape to Perfection
Tape is a great way to get precise lines and shapes, but it can be tricky. The first time you try it, you might end up with paint all over your hands or tape everywhere but on your wall. Here’s how to get the perfect tape job:
- Clean your surface with a wet cloth or sponge to remove dust or dirt. It will make sure that none of your paint bleeds under the tape.
- Use painter’s tape, not duct tape—the edges are more precise and won’t peel off as quickly (especially when it comes to removal).
- Cut the tape into strips that are just slightly smaller than what you want—that way, if any of your lines aren’t straight, they’ll still be covered by the rest of the piece!
- Press down firmly on top of each strip before applying it—this will help set the adhesive so that it doesn’t come undone later in the process!
Paint Wall Edges First
Painting the edges of a wall first is one of the most accessible painting techniques for beginners. It is an easy tip to make a big difference in your walls’ appearance. When you paint the edges of your walls, it will help to hide any imperfections or damage from previous paint jobs, and it will also help to strengthen the structure of your wall.
It’s also essential to make sure that you use a brush with nylon bristles when painting your walls because this will help to prevent any damage caused by overspray.
Another tip for beginners is consistently apply a primer before painting anything on your walls. It will ensure that your paint goes smooth and even, which means less time waiting around for things to dry so you can get back into things!
Also Read: 12 Black Gutters on House Ideas: Make Your House Stand Out!
Roll in a Zigzag Pattern
Rolling in a zigzag pattern is a great way to get started with wall painting. If you haven’t painted on walls before, this is an excellent way to get into it. It’s easy, not too expensive, and looks good!
Here’s how:
- Use your roller pan to brush on a generous amount of paint. You can use a roller pan for any type of paint—just make sure you’re using one designed for the kind of paint (i.e., latex or oil-based).
- Roll the paint across the wall in a zigzag pattern until you’ve covered all areas of the wall with at least three coats of paint (or whatever your instructions say).
- Let dry completely between each coat before adding another coat!
Final Thoughts
In the end, remember that every wall is different. What works for one person may not work for you, and vice versa.
Be patient, try new techniques, and with some practice, you’ll have no problem turning your walls into stunning works of art!