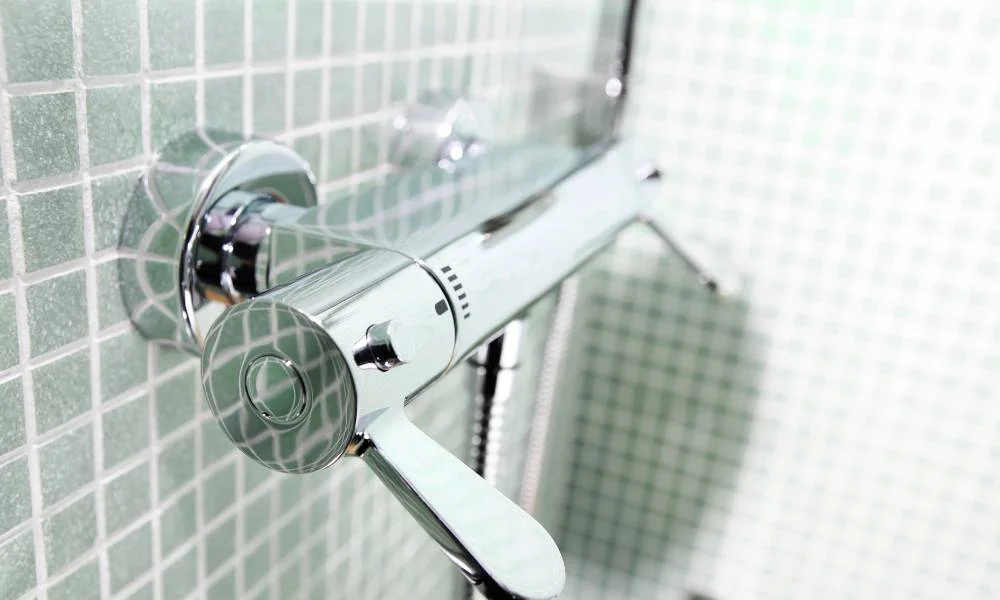
Removing shower handles is necessary for a variety of reasons. Common problems with shower handles include broken or malfunctioning handles, the need to change the faucet cartridge, fixing a leak, replacing a damaged filter, or cleaning the inner parts of the handle.
To troubleshoot these issues, it is important to know the steps involved in removing different types of shower handles.

Removing Single Handle Shower Handles
How can single handle shower handles be removed without screws in a professional manner? When faced with a shower handle that lacks visible screws, there are alternative methods for removal. Here is a step-by-step guide to help you navigate this process:
- Locate the button or cap on the handle: Look for a small button or cap on the handle, usually located at the base or near the back.
- Use a flat screwdriver to pop out the cap gently: Insert the screwdriver into the gap between the cap and the handle, and carefully pry it off.
- Remove the set screw hidden under the cap: Once the cap is removed, you will see a set screw. Use an appropriate screwdriver or Allen key to unscrew it.
With these steps, you can confidently remove a single handle shower handle without visible screws and proceed with any necessary repairs or replacements.
Removing Double Faucet Handles
To remove double faucet handles without screws, it is essential to first turn off the water supply and then twist the base of the handles counterclockwise to loosen them. Once the handles are loose, you can proceed with removing them and accessing the faucet cartridges for replacement or troubleshooting common handle issues.
- Start by turning off the water supply to prevent any leaks or water damage.
- Grip the base of each handle firmly and twist it counterclockwise to loosen it. This may require some force, so be careful not to damage the handles or the surrounding fixtures.
- Once the handles are loose, locate the screws holding them in place. These screws are usually located on the sides or underneath the handles.
- Use a screwdriver to remove the screws and carefully pull out the handles.
- With the handles removed, you can now access the faucet cartridges. Inspect them for any signs of damage or wear and replace them if necessary.
- Reassemble the components by following the reverse steps.
Removing Lever Style Faucet Handles
Lever style faucet handles can be easily removed by using an Allen key to extract the hidden screw. Follow these steps to remove lever style faucet handles:
- Locate the hot and cold buttons on the handle and gently remove them.
- Insert the appropriately-sized Allen key into the hole and turn it counterclockwise to loosen the hidden screw.
- Once the screw is fully loosened, gently pull the faucet handle away from the base to remove it.
Troubleshooting common issues with lever style faucet handles may include replacing the cartridge if damaged or worn out. To do this, follow the manufacturer’s instructions for cartridge replacement. After replacing the cartridge, reassemble the handle components, ensuring everything is tightly secured. If the issue persists, consult the manufacturer’s website or contact their customer support for further assistance.
Tips and Tricks for Removing Shower Handles
When removing shower handles, using distilled white vinegar or lemon for mineral deposit removal can be a helpful tip. Mineral deposits can accumulate over time and make it difficult to remove stubborn shower handles.
To use this method, soak a cloth or sponge in vinegar or lemon juice and apply it to the handle. Let it sit for a few minutes to allow the acid to break down the mineral deposits.
Then, use a wrench or pliers to grip the handle firmly and twist it counterclockwise to loosen it. If the handle still won’t budge, you can try using a handle puller or applying heat with a hairdryer to expand the metal and make it easier to remove.
Additionally, consulting the manufacturer’s website for specific handle removal information can provide valuable insights and tips.
Also Read: 22 Aesthetic Showers Ideas for a Perfect Bathing Experience
Additional Resources and FAQs
One common question people have when removing shower handles is how to determine the correct size of the faucet cartridge to replace it with. Here are some frequently asked questions (FAQs) about removing shower handles and some recommended tools for the job:
How do I know the correct size of the faucet cartridge?
- Measure the length of the cartridge and the diameter of the base to determine the size needed.
- Check the manufacturer’s website or product manual for specific cartridge measurements.
- Consult a plumbing professional for assistance if unsure.
What are the recommended tools for removing shower handles?
- Flat screwdriver: Used to pop out the cap or button covering the screw.
- Pliers or handle puller: Helps to grip and remove stubborn handles.
- Allen key: Used to remove hidden screws on lever-style handles.
Conclusion
In conclusion, removing shower handles without screws can be a straightforward process with the right tools and techniques. By following the step-by-step instructions outlined in this article, readers can easily remove single handle, double faucet, or lever style handles for various reasons such as repairs, replacements, or maintenance.
The provided tips and tricks also help address common challenges during the removal process. With this knowledge, readers can confidently tackle the task of removing shower handles effectively.