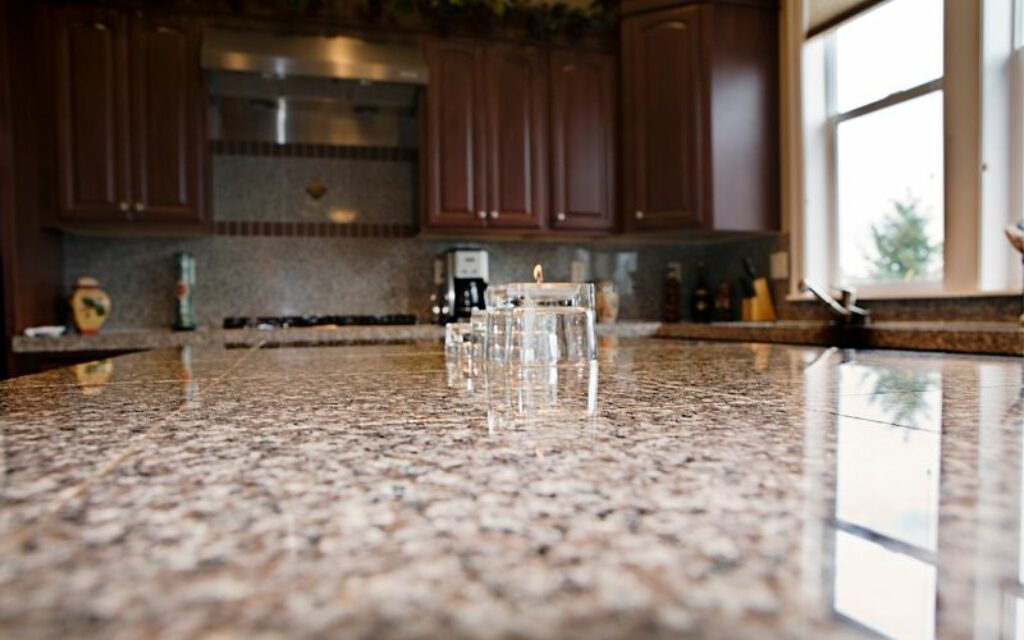
Cutting a laminate countertop might seem like a daunting task, but with the right tools and guidance, it’s a project that any DIY enthusiast can tackle. This article will guide you through the process of how to cut a laminate, providing expert advice and practical tips to ensure a smooth and successful project. So, let’s dive in!

Part 1: Understanding Laminate
What is a Laminate Countertop?
A laminate countertop is a type of kitchen surface made from layers of plastic bonded to a particle board or plywood substrate. They’re popular due to their affordability, durability, and a wide range of designs. But how do you go about cutting one to fit your kitchen? Let’s find out!
Why Choose a Laminate Countertop?
Laminate countertops offer a cost-effective and versatile solution for your kitchen. They’re available in a plethora of colors and patterns, mimicking the look of more expensive materials like granite or marble. Plus, they’re easy to maintain and resistant to stains and heat.
Note: if you’re cutting a sink hole, the Formica® group made a guide especially for that here.
Also Read: 7 Awesome Mini Kitchenette for Small Kitchen
Part 2: Tools Needed to Cut a Laminate
Essential Tools for the Job
Before you start, you’ll need to gather the right tools. These include a circular saw, a jigsaw, a router, clamps, a straightedge guide, and safety gear. Remember, safety first!
Choosing the Right Saw Blade
When cutting a laminate countertop, the type of saw blade you use is crucial. A carbide-tipped blade with a high tooth count will ensure a clean, chip-free cut. To learn more about types of saw blades click here.
Part 3: Preparing to Cut
Measuring and Marking
The first step is accurately measuring and marking. Measure twice, cut once is the golden rule here. Use a pencil to mark your cut lines on the laminate surface.
Securing the Countertop
Before you start cutting, it’s essential to secure the countertop to prevent it from moving. Use clamps to hold it in place, ensuring they don’t obstruct your cutting path.
Part 4: How to Cut a Laminate Countertop
Making the Initial Cut
Start by making an initial cut with your circular saw, guided by a straightedge. This cut should be slightly outside your marked line.
Finishing the Cut
After making the initial cut, use a jigsaw to finish the cut along the marked line. This tool allows for more precision and is ideal for making any necessary adjustments.
Part 5: Finishing Touches
Trimming the Edges
Once you’ve cut your countertop to size, you’ll need to trim the edges. This can be done using a router with a laminate trimming bit.
Applying the Finish
The final step is applying a finish to the cut edges. This can be done using a laminate repair paste or edge banding.
Frequently Asked Questions
1. Can I cut a laminate countertop with a regular saw?
Yes, but it’s recommended to use a carbide-tipped blade with a high tooth count for a cleaner cut.
2. How do I prevent chipping when cutting a laminate countertop?
To prevent chipping, use a fine-toothed blade and cut from the bottom side of the countertop.
4. What safety gear should I use when cutting a laminate countertop?
Safety glasses, ear protection, and a dust mask are essential safety gear when cutting a laminate countertop.
Also Read: (It’s Work) How to Get Melted Plastic Off Stove and Oven
5. How do I finish the edges of a cut laminate countertop?
You can finish the edges using a router with a laminate trimming bit, followed by applying a laminate repair paste or edge banding.
6. Can I use a jigsaw to cut a laminate countertop?
Yes, a jigsaw is ideal for making precise cuts and adjustments after making the initial cut with a circular saw.
Conclusion
Learning how to cut a laminate countertop is a valuable skill for any DIY enthusiast. With the right tools, accurate measurements, and a steady hand, you can customize your kitchen countertops to perfectly fit your space. Remember, safety should always be your top priority, and don’t rush the process. Good luck with your project!