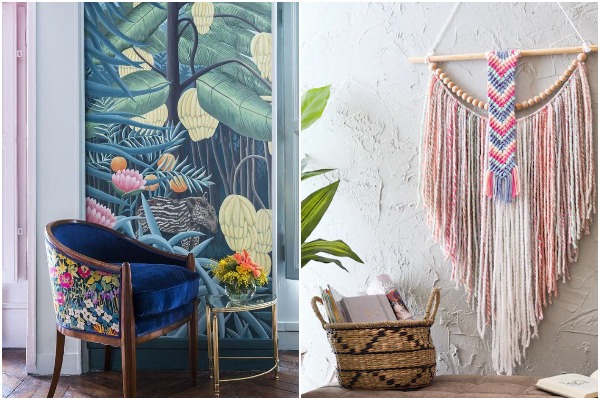
With the new year come new trends in interior design. If you’re quite handy with scissors and other crafting tools, you can use your skills to keep your home trendy.
Luckily, there are plenty of decorative projects you can do on your own. You only need your creativity, skills, and the right materials (this is where quick fabric delivery becomes handy).
If you’re unsure where to begin, here is a list of the two home decorating projects you can do in a jiffy.

1. Swap Out Chair Upholstery
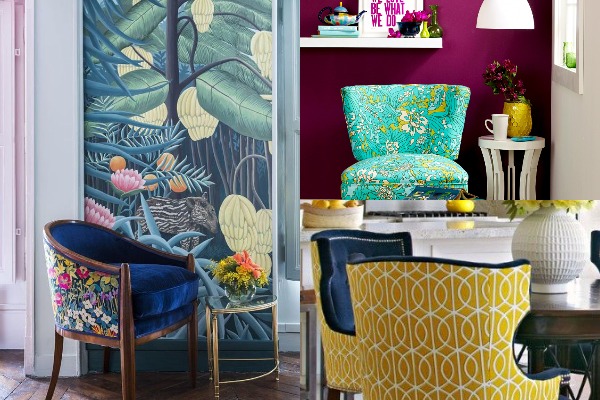
Switching chair upholstery is much easier than you think. Depending on the size of the chair you’re working on, it may also require very little fabric that even the scraps you have from your other projects would be enough.
Because of the role that chairs play in interior design, this is one of the DIY projects that create a significant impact in any room. The only catch is that upholstering may not be among “the usual” projects that the average DIYer can handle.
Because of the role that chairs play in interior design, this is one of the DIY projects that create a significant impact in any room. The only catch is that upholstering may not be among “the usual” projects that the average DIYer can handle. An embroidery machine and hatch embroidery software can help every project be easier.
Fortunately, this specific project doesn’t require deep knowledge of seams, complicated pleats, tufting, and finishes that are best left to the professionals. You won’t even need to do any sewing.
What You’ll Need
Aside from a chair with a removable seat, you’ll also need:
- Scissors
- Staple gun
- Screwdriver
- Thin fabric for the dust cover
- Upholstery-weight fabric

How to Do It
- Remove the seat. Turn the chair upside down to expose the screws and unscrew them to detach the seat from the chair. You can use a power drill with a screwdriver drill bit that matches the screws to speed up this process.
- Switch out the existing fabric. Use a flat screwdriver to remove staples that secure the material in place. If you find a thin piece of fabric on the back that serves as a dust cover, remove that one first, then move on to the seat fabric.
- Cut out the new fabric. You’ll need to cut the new fabric for the upholstery into the right size and shape. To do this more accurately, use the old material as a template. Don’t forget to add a couple of inches on each side to ensure that it is large enough to cover the seat.
- Place the new fabric on the seat. On the right side, put the material on top of the seat and adjust until centered. Carefully, turn it over and loosely tack the fabric down along its four corners. This can be removed later, as they are only meant to hold the cloth in place while you’re securing it with the stapler.
- Secure the fabric in place. Begin from the center of each side and work outward to the corners while the material is pulled taut. Avoid doing the full side at a time; do one or two for each side before moving on to the opposite side to make sure the fabric is even across all sides.
- Fold the corners neatly. This can be a bit tricky. You might need to do a couple of folds, depending on what fabric you chose. You can experiment to see what looks best before stapling it into place.
- Trim any excess fabric. Once it’s all neat and tidy, you can screw the seat back onto the chair.
Also Read: 15 Practical Space Saving Table and Chair Ideas
2. Macramé Wall Hanging
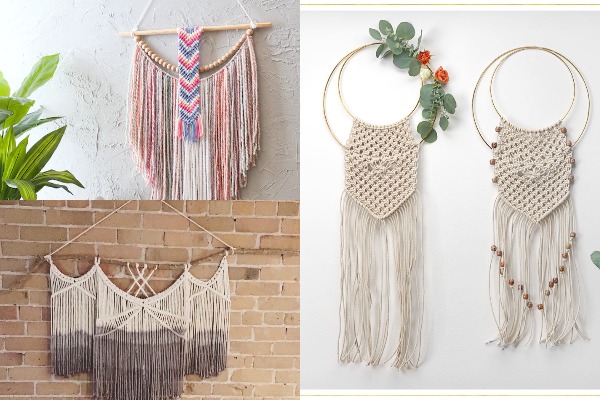
Want to add texture and human touch to your otherwise bare walls? Try making a macramé wall hanging decoration. This DIY project will make any space feel homey and draw attention, thanks to its numerous beautiful patterns.
The best part is that this project is so easy to do despite its sophisticated appearance.
What you’ll need
- Cotton macramé cord measuring 200 feet (or about 61 meters)
- A 24-inch-long wooden dowel roughly three-quarters of an inch in diameter
- Scissors
Cost-Saving Tips: Consider using a clothesline for your macramé cord. It’s fairly inexpensive, not to mention it looks quite natural. For the dowel, whatever size you have is okay, as long as all the ropes can fit over it. You can even use a tree branch to give your project an outdoorsy vibe.

How to Do It
- Make a hanger. Cut around three feet (one meter) of macramé cord and tie each end to the dowel to serve as its hanger.
- Cut 12 lengths of rope. Divide your macramé cord into 12 lengths, each around 15 feet (4.5 meters) long. While this may seem like a lot, the patterns and knots you’ll do will take up more of the rope than you think. Plus, there’s no way to extend the rope once it’s cut while still ensuring neatness, so it’s best to have more than what you need.
- Attach all the cords to the dowel. Fold a cord in half and tie it onto the dowel using the lark’s head knot. If you’re not familiar with the knot, you can find easy-to-follow tutorials online. Repeat this across all the ropes.
- Create spiral knots. Using the first four cords, make 13 left-facing spiral knots. This is also called a half knot sinnet, in case you want to find a tutorial on how to do it. Repeat this for the next set of four cords until you have six spiral stitch sets.
- Move on to square knots. Skip about one or two inches between the last spiral knot and the first square knot. You can use a ruler’s width as a guide to keeping gaps level and aligned across all the ropes.
- Make a V-shape. You can do this by reducing the number of square knots per row. Set aside two strings from both ends and start making square knots one inch down from the previous ones with the remaining rope. Continue this until you can only make one square knot (the bottom of the “V”).
You can stop there if you’re happy with what you have, but if not, you can increase the number of square knots until you end up with a reverse “V” or a triangle down the line.
To secure the bottom of the wall hanging decor, simply tie each end with overhand knots and trim them according to your preferred style. You may also add beads or even fray the ends using a comb.
Also Read: 5 Things to Remember When You Start a Macrame Project
Do It Yourself
Besides helping you save money when decorating, DIY projects also let you customize designs to fit your preferences and the room you’re designing. With a bit of research, practice, and resourcefulness, you’ll be able to design uniquely wonderful decor for your home.
AUTHOR BIO
James Prathap is the General Manager at NGC Nafees, one of the leading distributors of wallpapers, floorings, and fabrics in the Middle East and South Asia. Formed three decades ago, the business also offers high-quality panoramics, coordinated fabrics, and creative stickers for residential and commercial projects.