The average US home wastes about 10,000 gallons of water every year due to leaky pipes alone. All in all, household plumbing leaks waste about one trillion gallons of water each year.
That’s enough reason to fix plumbing leaks with the help of the best services of electrician perth, as soon as you notice them. Failure to do so won’t only make your water bills go up; it can also give rise to moisture problems. Do note that leaking pipes are a major cause of dampness issues affecting one in two US homes.
Fortunately, minor leaks are easy to fix with a few tools and materials. This guide will cover the basics, so be sure to read on.

Shut off the Water Supply Valve
The first step on how to fix a plumbing leak is to stop the source of water. You can do this by shutting off the water supply line valve where the leaky fixture connects to.
For example, kitchen and bathroom faucets often have a shut-off valve underneath sinks.
If you can’t find those individual valves, you can switch off the main water valve. If you have a basement, you’re likely to find it mounted on a wall that faces the street. It can also be in a utility closet or your laundry room.
If you can’t find any of the shut-off valves, it might be best to leave the job to a plumbing repair expert. Otherwise, you run the risk of flooding your home by disconnecting plumbing joints.
Fixing a Leaky Faucet
Let’s assume you were able to find and shut off the appropriate water supply valve. The next step is to take a photo of the plumbing fixture before you disassemble anything. Do the same as you take the fixture apart, as this will help you put the parts back into their proper places later.
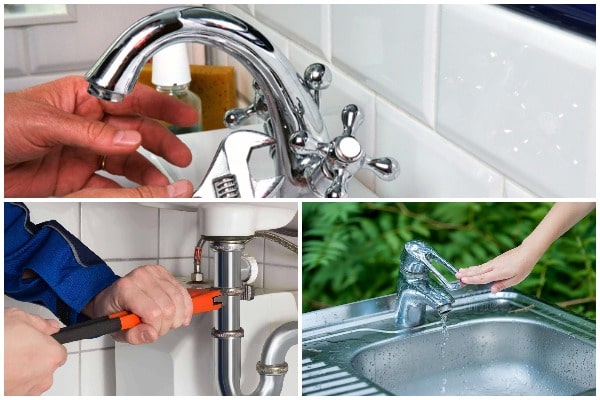
To fix a leaky tap, disconnect all decorative components with a screwdriver. From there, remove the screws that mount the tap handle to the stem. Use a wrench to loosen the other nuts and bolts that secure the faucet components, as well as the stem.
Check each part for any damage, especially the O-ring and washer, which create a seal inside the tap. Replace worn, cracked, or dried-out seal components.
Re-assemble the faucet, but be sure not to over-tighten fasteners. Otherwise, it can result in stress cracks, allowing even more water to leak out.
Switch the water supply valve back on and see if your hard work paid off. If the faucet still leaks, the culprit may be a corroded plumbing component. In this case, it’s best to call in a professional plumber as this often requires more complex fixes.
Also Read: Some Common Issues You Should Leave To A Plumber
Fixing a Leaky Plumbing Joint

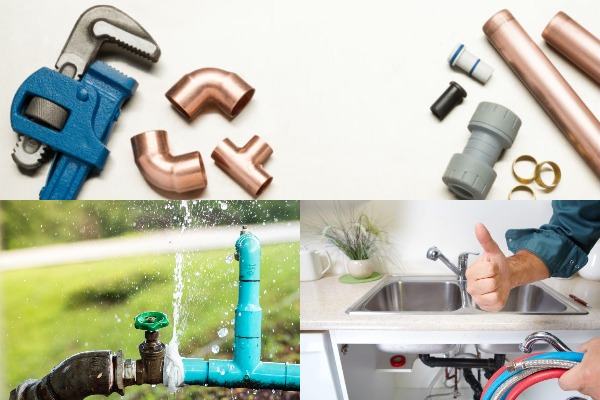
Before you fix leaking plumbing joints, be sure to buy some Teflon tapes and pipe joint compounds. These materials help make the surfaces of threaded pipe connections smoother. They also provide better lubrication, helping the pipes fit more securely together.
To start fixing a leaky joint, wrap some Teflon tape along the threaded area of the male pipe. Next, apply a layer of Teflon pipe joint compound over the taped area. Insert this pipe into the other pipe and fasten the two together with a wrench.
Switch on the water supply valve to see if the leak is gone.
If it is, then good job! If there’s still some water dripping out, the pipes themselves may be to blame. Depending on how long the affected pipe is, it may be best to call a professional plumber.
Also Read: 5 DIY Plumbing Tips Every Homeowner Should Know
Fix Plumbing Leaks as Soon as You Notice Them
As you can see, it’s quite easy to fix plumbing leaks, so long as they’re only minor. However, it’s best to go pro if you have multiple leaky pipes or you think some are underground. The most important thing here is to fix leaks ASAP to prevent water wastage and damage.
Ready for more home tips and tricks and repair guides like this? Then feel free to browse our latest blog posts!