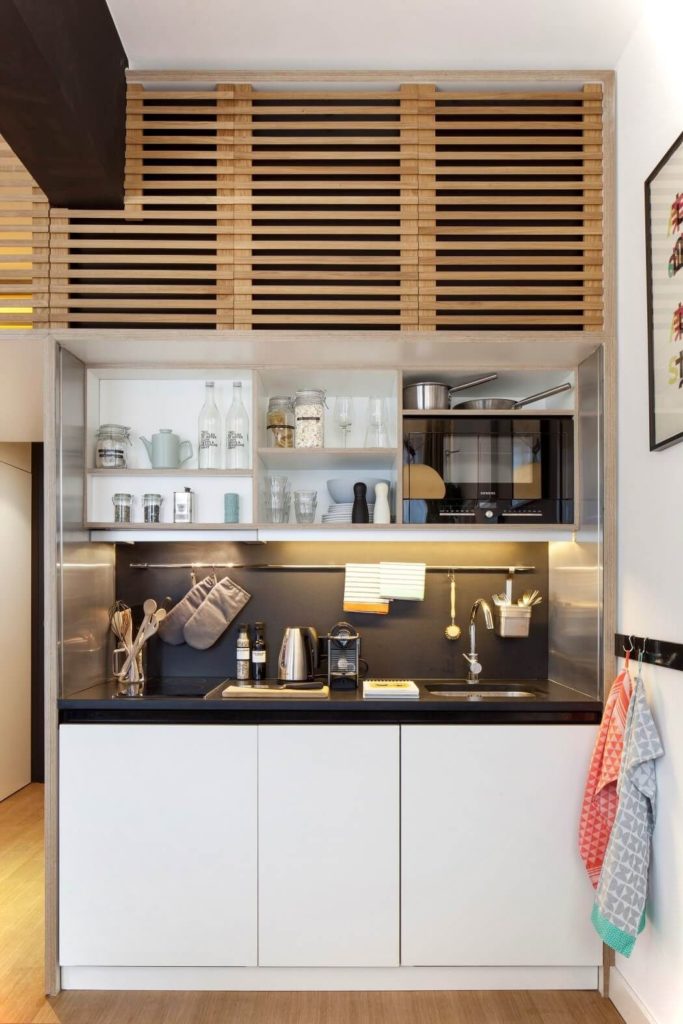
A kitchen backsplash is a perfect way to upgrade the value of your house. Many people install kitchen backsplash to save the interiors from getting any moisture. In addition, the backsplash is highly durable; thus, you do not have to replace it time and again. However, one of the essential benefits is replacing it without changing and damaging other kitchen parts. The article discusses tips on removing tile backsplash from the kitchen by yourself.

Signs that You Now Need to Replace Your Kitchen Backsplash
The tile backsplash in your kitchen represents your sense of style. So, it is up to you to decide when you want to change it. However, there are some situations other than kitchen remodeling when you have to go ahead with changing the background. They are:
- It is broken or cracked
- The tile is falling off
- It no longer looks good because of the faded color
- It has harsh non-removable stains on it.
Now that you have decided to remove it follow the steps below to safely remove the full backsplash without causing any damage or loss to the property.
Required Supplies
You will need:
- Hammer
- Trash can
- Work gloves
- Painter’s tape
- Wonder bar
- Wall scrapper
- Weight paper
- Safety glasses
Step 1: Prepare the Area
The first step in going ahead with any procedure is to prepare the area. You need to remove all the stuff from the countertop and keep it in a safe place. Next, cover it with stiff cardboard and a drop cloth to collect the debris and trim pieces.
We suggest you use cardboard to cover the sink and faucets as well. Lastly, keep a trash can near you and remove all the switchboards and keep the screws safely packed in a zip bag, so you don’t lose them.
Also Read: How to Get Melted Plastic Off Stove and Oven
Step 2: Start with Removing the Tiles
At this moment, you need to get your hands on a wonder bar. It will help you quickly get behind the tile and pop it off. Since a tile is fixed using various methods, it is better if you figure out if it is set using an adhesive or something else.
Take the wonder bar, place it on the edge of the tile and use the hammer to push it in between the wall and the tile. Some of the tiles will be a little hard to remove; you will have to hammer them until they come off. Simultaneously, please keep checking the weight in the trash can and empty it before it gets too heavy.
Step 3: Scrape off the wall
Tile backsplash removal is never complete without you scrapping off the excess mortar. Use the wall scraper and hammer to remove any residue. It will smoothen the wall and get it ready for new installation.
Please note that you do not have to remove any precautionary items, such as the countertop cover, newspapers from the floor, etc., before strapping the wall. Additionally, if you have drywall behind the tile, you will have to stay extra cautious while removing the tiles. If the drywall gets damaged, you will have to replace it.
Final Words
Removing tile backsplash from your kitchen is a huge task. You should have experience in using the tools mentioned above. It is essential to understand that apart from covering the countertop and faucets to prevent any damage, you also need to follow preventive measures. Tile removal by yourself can help you save a lot of money. You can use the amount in installing the new backsplash.